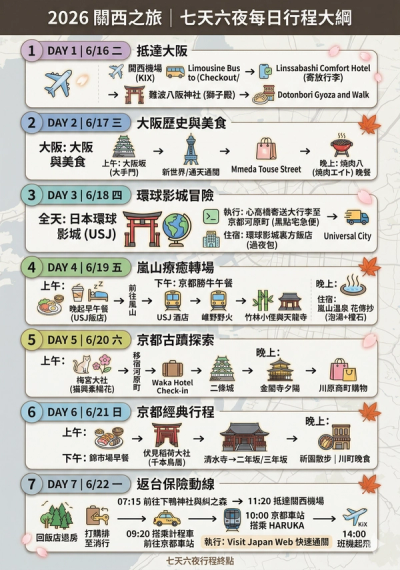
If you're like us and love relying on public transit—wanting to experience the hustle and bustle of Osaka, hype it up at Universal Studios Japan, and soak in Kyoto's tranquil, ancient charm—striking the perfect balance can be tricky. This "Complete Itinerary & Transportation Guide" was custom-made for you. Be sure to screenshot or bookmark this post!
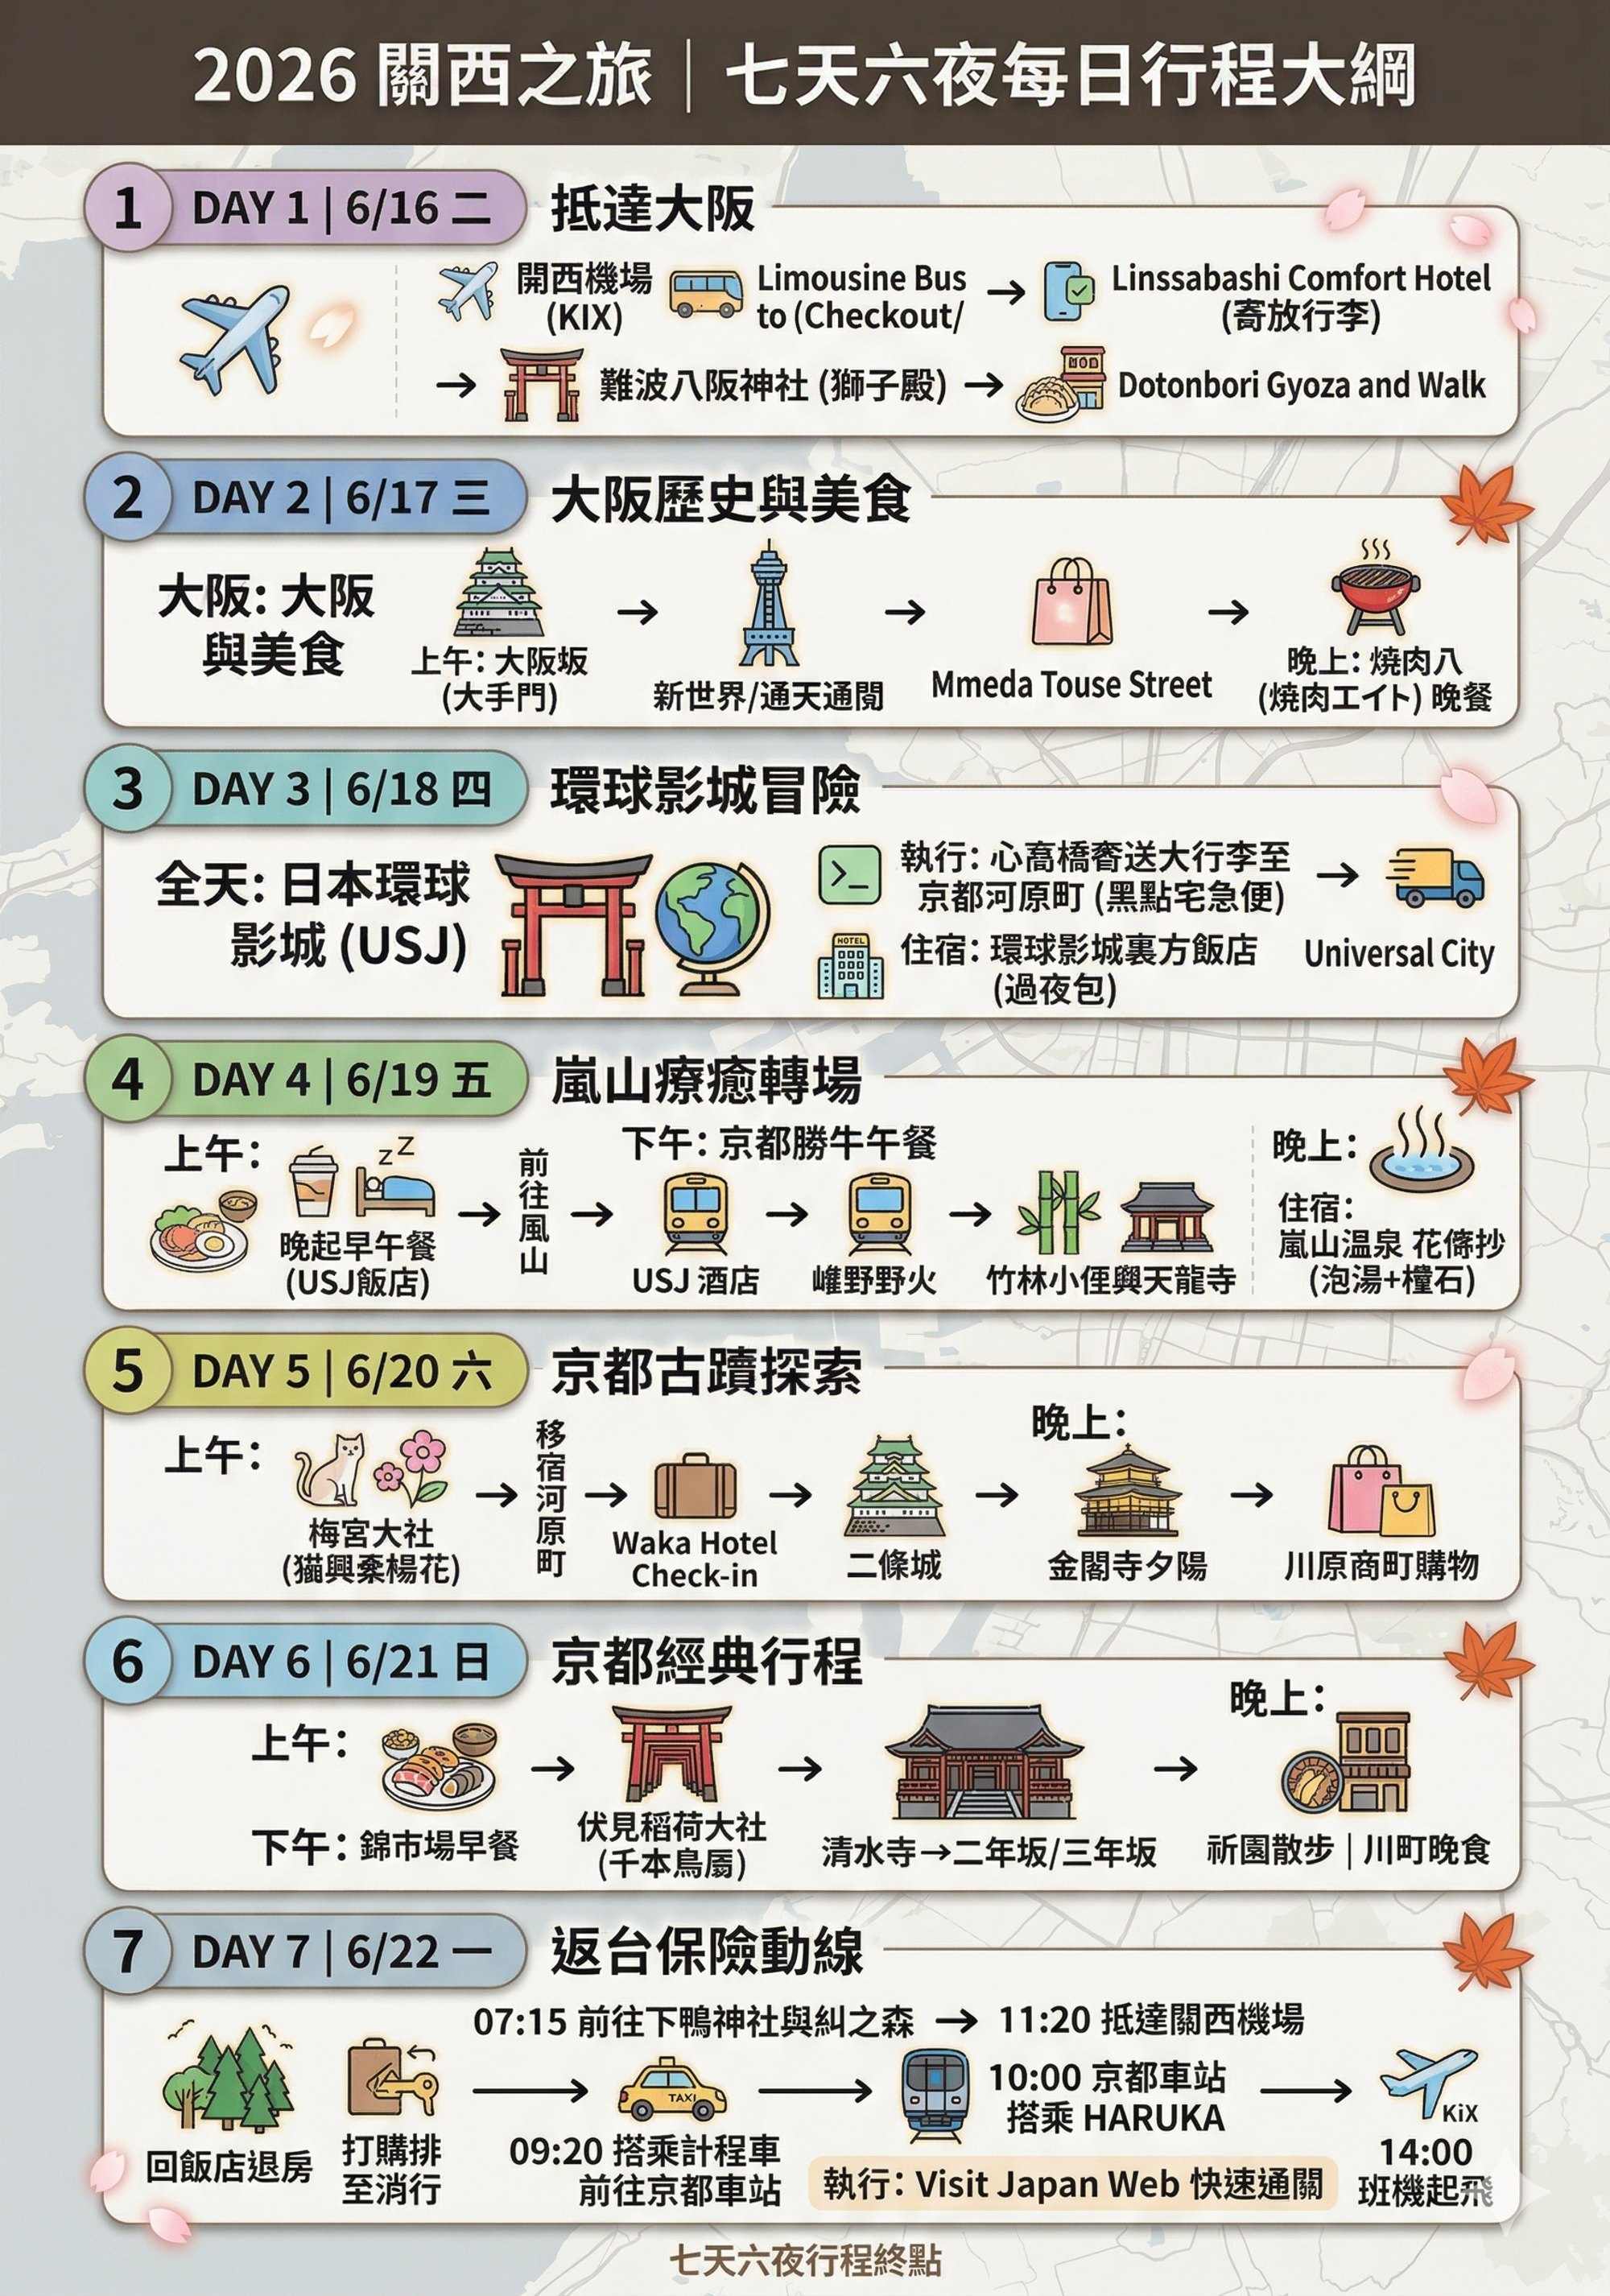
1. Classic 7-Day 6-Night Kansai Itinerary Overview
To help you grasp the highlights quickly, we condensed our 7-day route and accommodations into the table below. Follow this flow for a smooth, hassle-free trip:
| Day | City | Highlights & Must-Try Food | Accommodations |
|---|---|---|---|
| 1 | Osaka | 12:30 Arrive at KIX → Airport Limousine Bus → Namba Yasaka Shrine (Lion Head) → Dinner & stroll in Dotonbori | Comfort Hotel Osaka Shinsaibashi |
| 2 | Osaka | Osaka history & food: Osaka Castle (enter via Otemon Gate) → Shinsekai / Tsutenkaku → Shopping in Umeda Chayamachi → Dinner at Yakiniku Eight (Umeda Chayamachi branch) | Comfort Hotel Osaka Shinsaibashi |
| 3 | Osaka | Morning: Ship large luggage to Kyoto via Yamato Transport → Have a blast at Universal Studios Japan | Oriental Hotel Universal City |
| 4 | Kyoto | Late brunch at USJ hotel → Head to Arashiyama → Lunch at Itsuki Chaya → Sagano Romantic Train & Bamboo Grove | Kyoto Arashiyama Onsen Kadensho |
| 5 | Kyoto | Move to Kawaramachi → Check in at Waka Kyoto Kawaramachi → Historic walk at Nijo Castle → Sunset at Kinkaku-ji | Waka Kyoto Kawaramachi |
| 6 | Kyoto | Treasure hunt at Nishiki Market → Fushimi Inari Taisha (Senbon Torii) → Stroll around Kiyomizu-dera → Dinner at Kyoto Yakiniku Hiro (京の焼肉処 弘) | Waka Kyoto Kawaramachi |
| 7 | Return | 10:00 Board HARUKA at Kyoto Station → 11:20 Arrive at Kansai Airport → 14:00 Flight departs | Home sweet home |
Luggage Shipping Hack: The Secret to Going Hands-Free
💡 The smartest travel hack of our trip was shipping our large luggage on the morning of Day 3 after breakfast. We filled out a Yamato Transport slip to send our bags straight from Shinsaibashi to Waka Kyoto Kawaramachi, where we wouldn't check in until Day 5. All we needed for Universal Studios Japan and Arashiyama was a light two-day overnight bag. Going completely hands-free felt amazing!
1. Comfort Hotel Osaka Shinsaibashi
- Timing: The hotel recommends handling the paperwork at the front desk the night before checking out on June 18 to avoid the peak checkout rush.
- Estimated cost: Around 2,000 to 5,000 yen per bag (depending on size and weight).
- Shipping method: The front desk can help you fill out the TA-Q-BIN shipping waybill.
2. Oriental Hotel Universal City
- Delivery limits: Luggage forwarding provided by this hotel is typically next-day delivery; same-day delivery is not available.
- Payment method: Usually Cash on Delivery (COD).
- Notes: The hotel will help confirm whether your next receiving hotel accepts cash on delivery.
2. Limousine Bus, Nankai Electric Railway, HARUKA: Getting Straight from the Airport to Shinsaibashi
For this trip, we took morning flight SL396 and landed at Kansai Airport (KIX) around 12:30. Once at the airport, many travelers debate between the Nankai Electric Railway and the HARUKA. But if you're staying in the Shinsaibashi/Namba area on your first day like us, we highly recommend taking the Airport Limousine Bus!
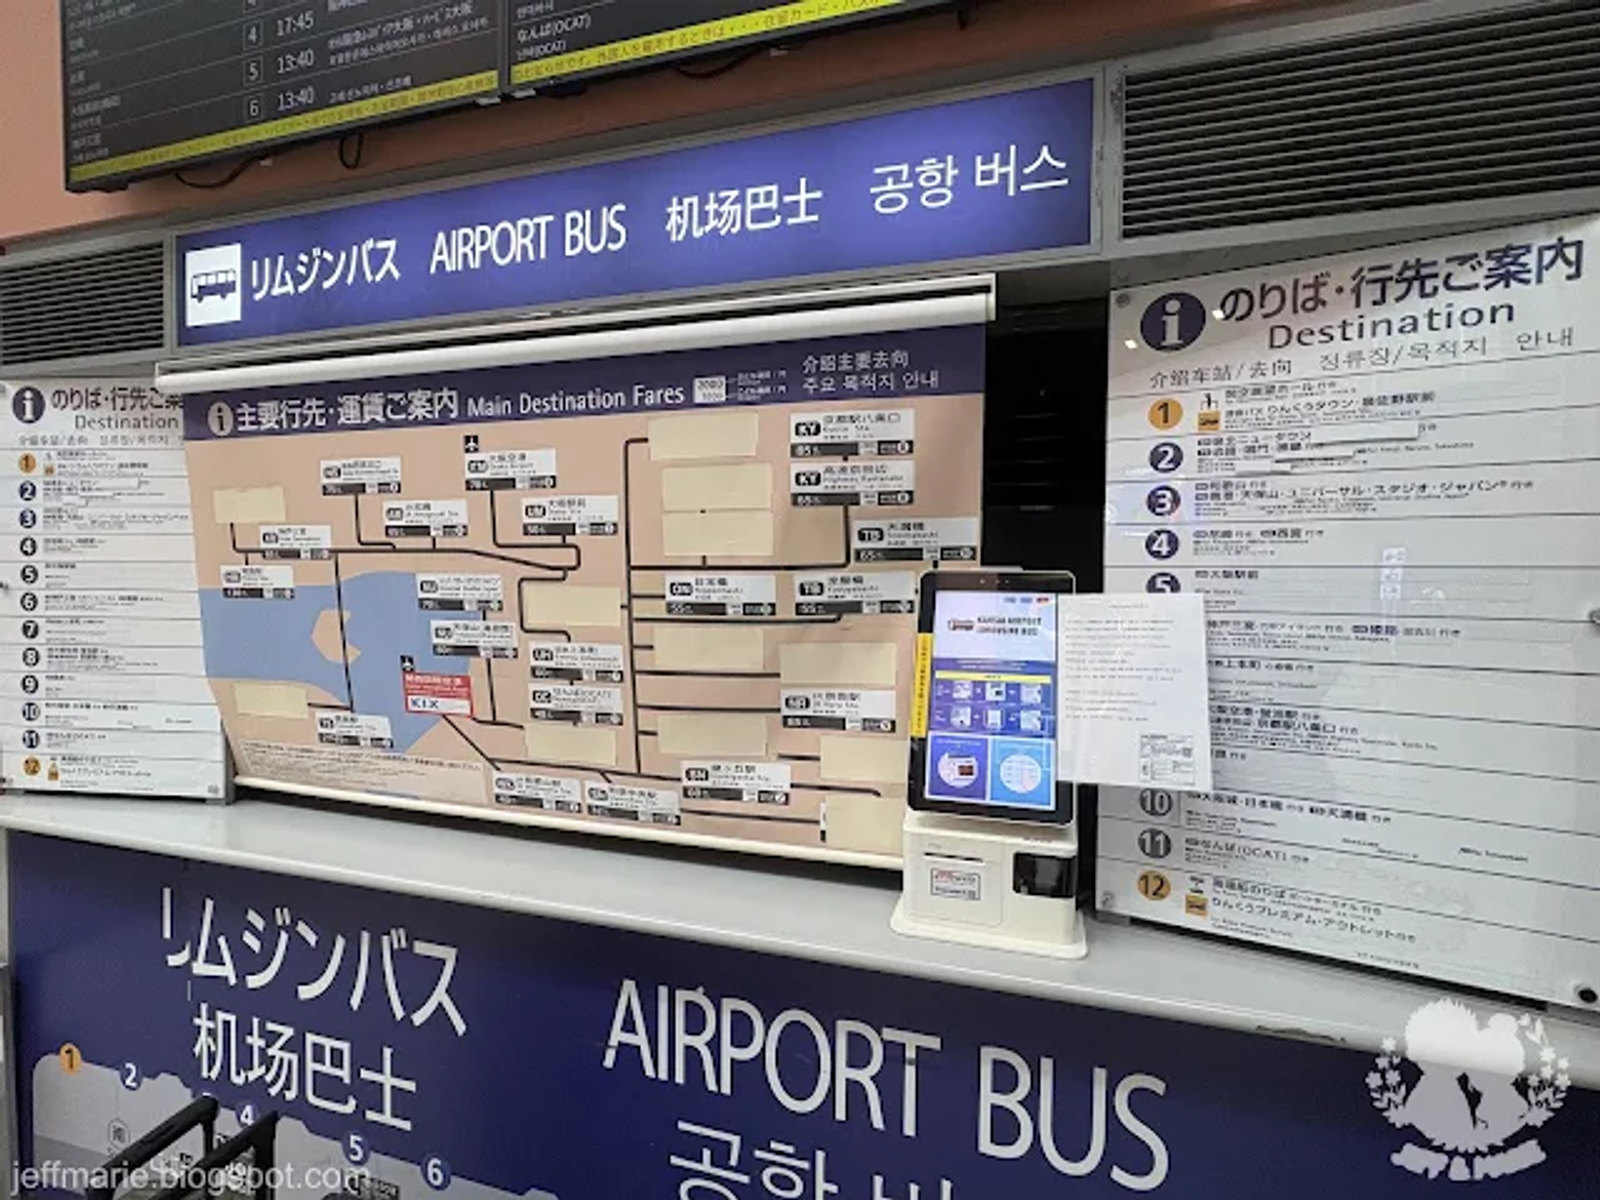
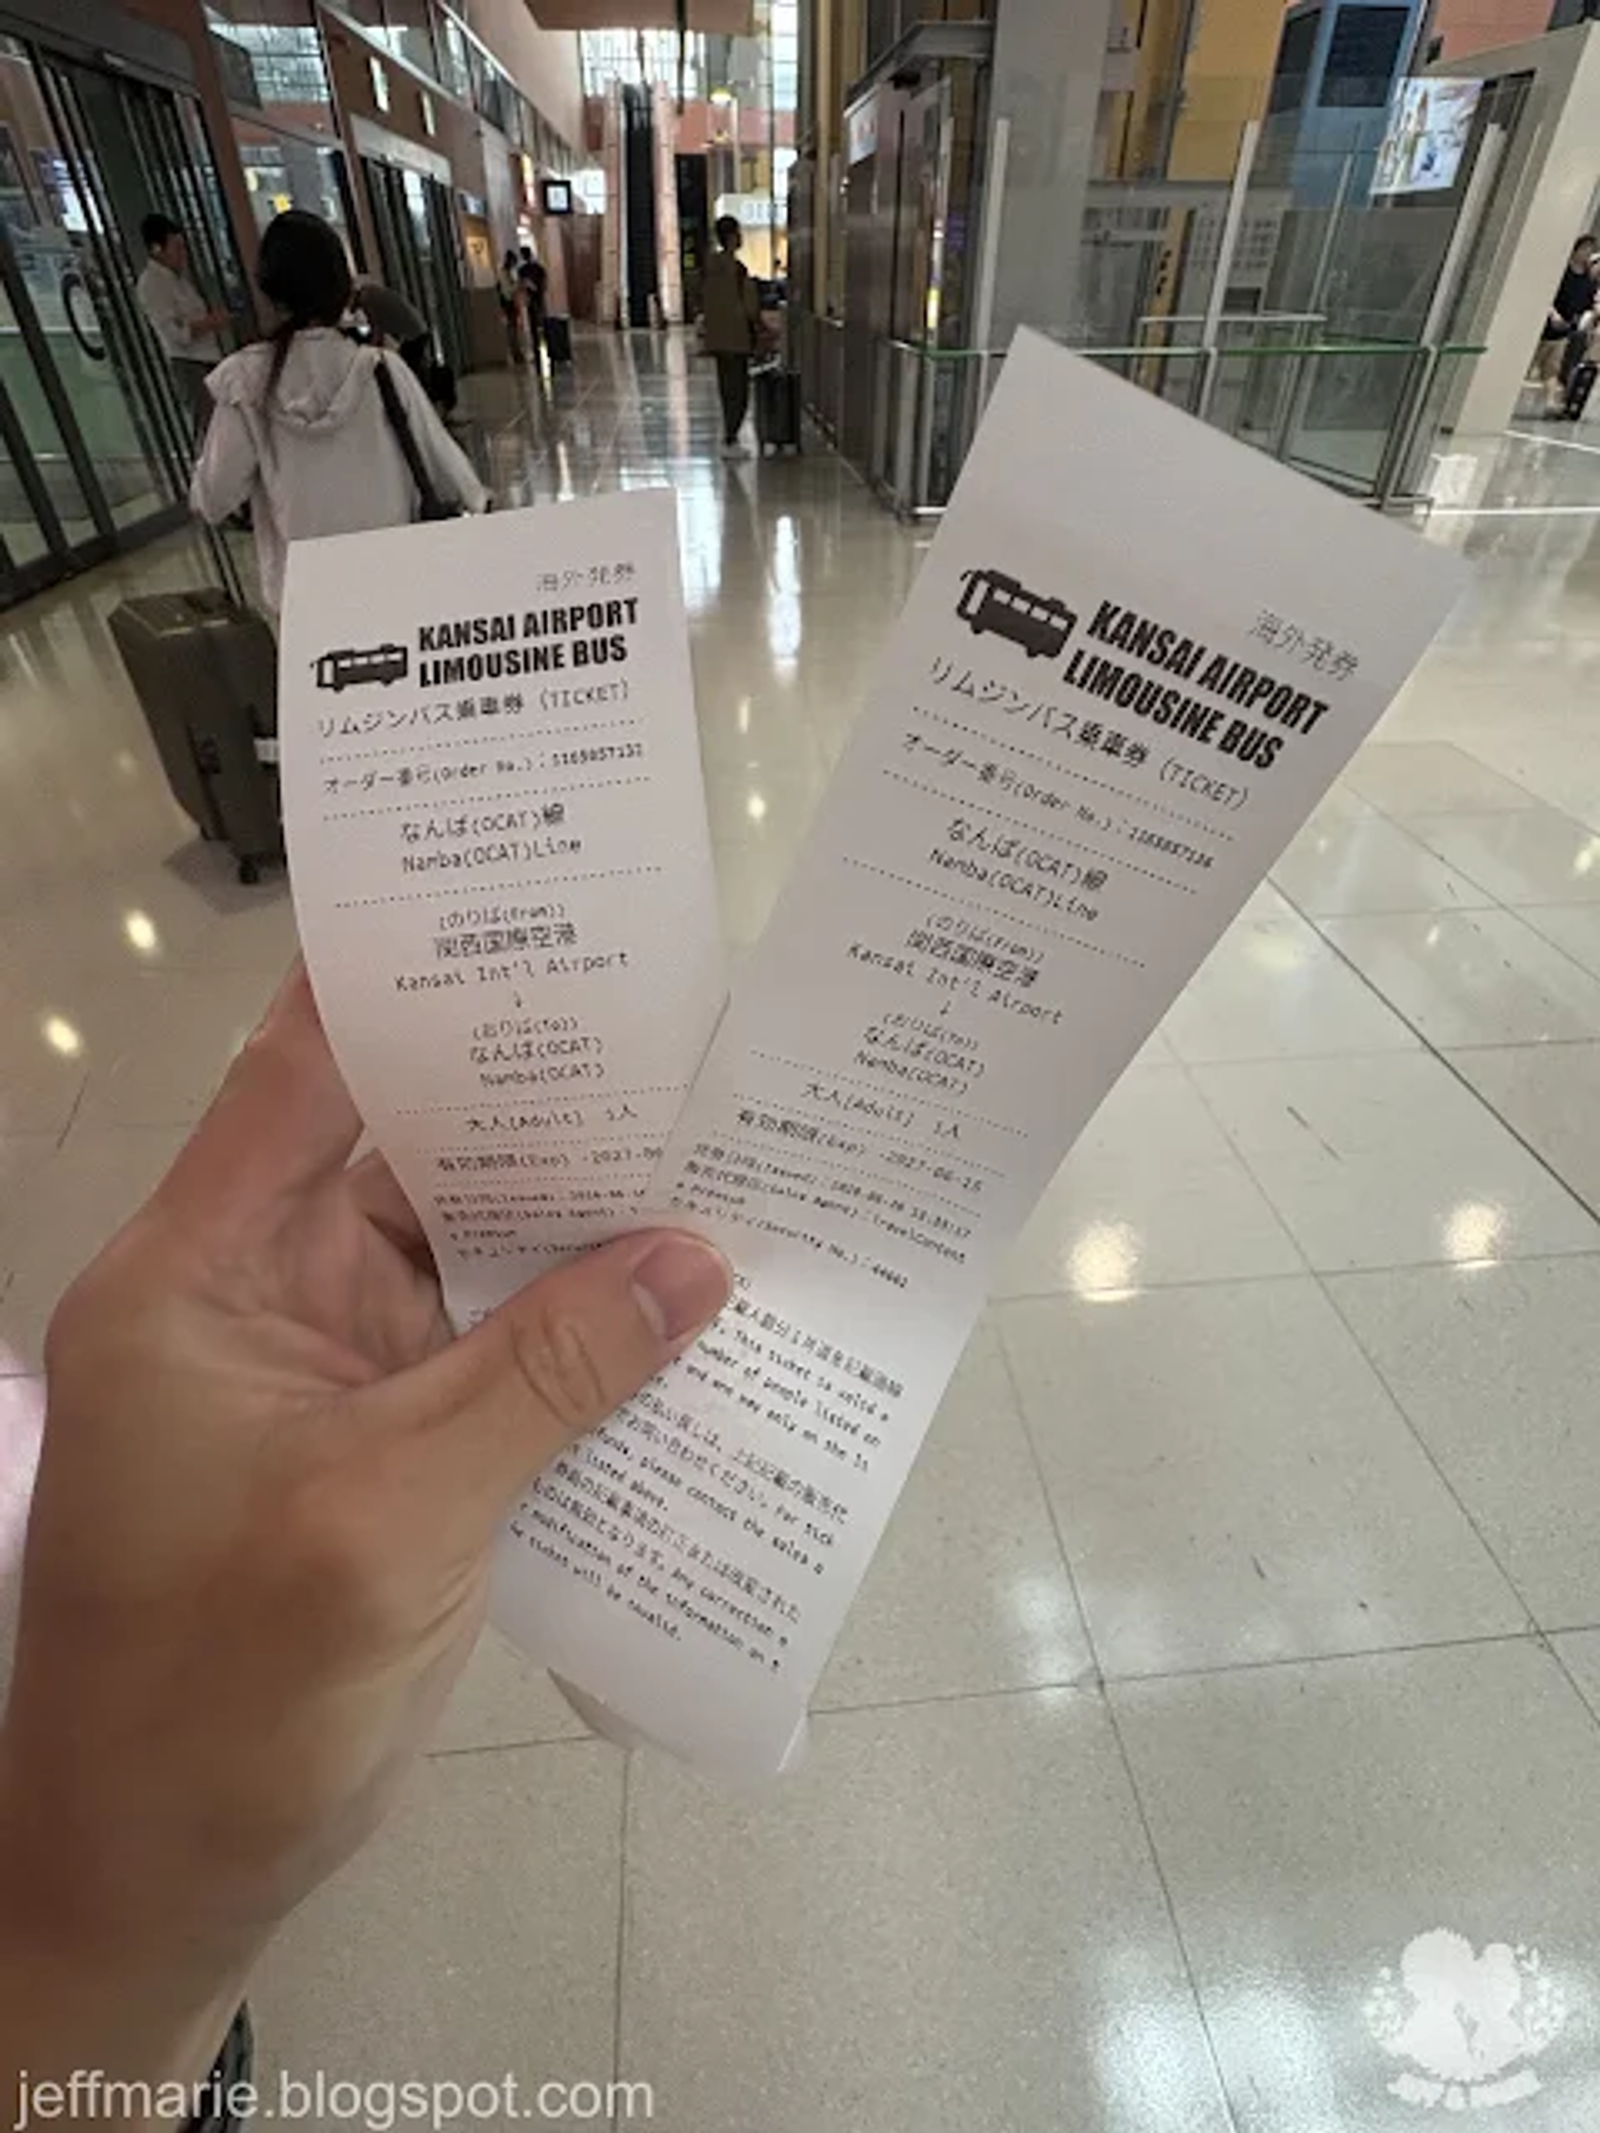
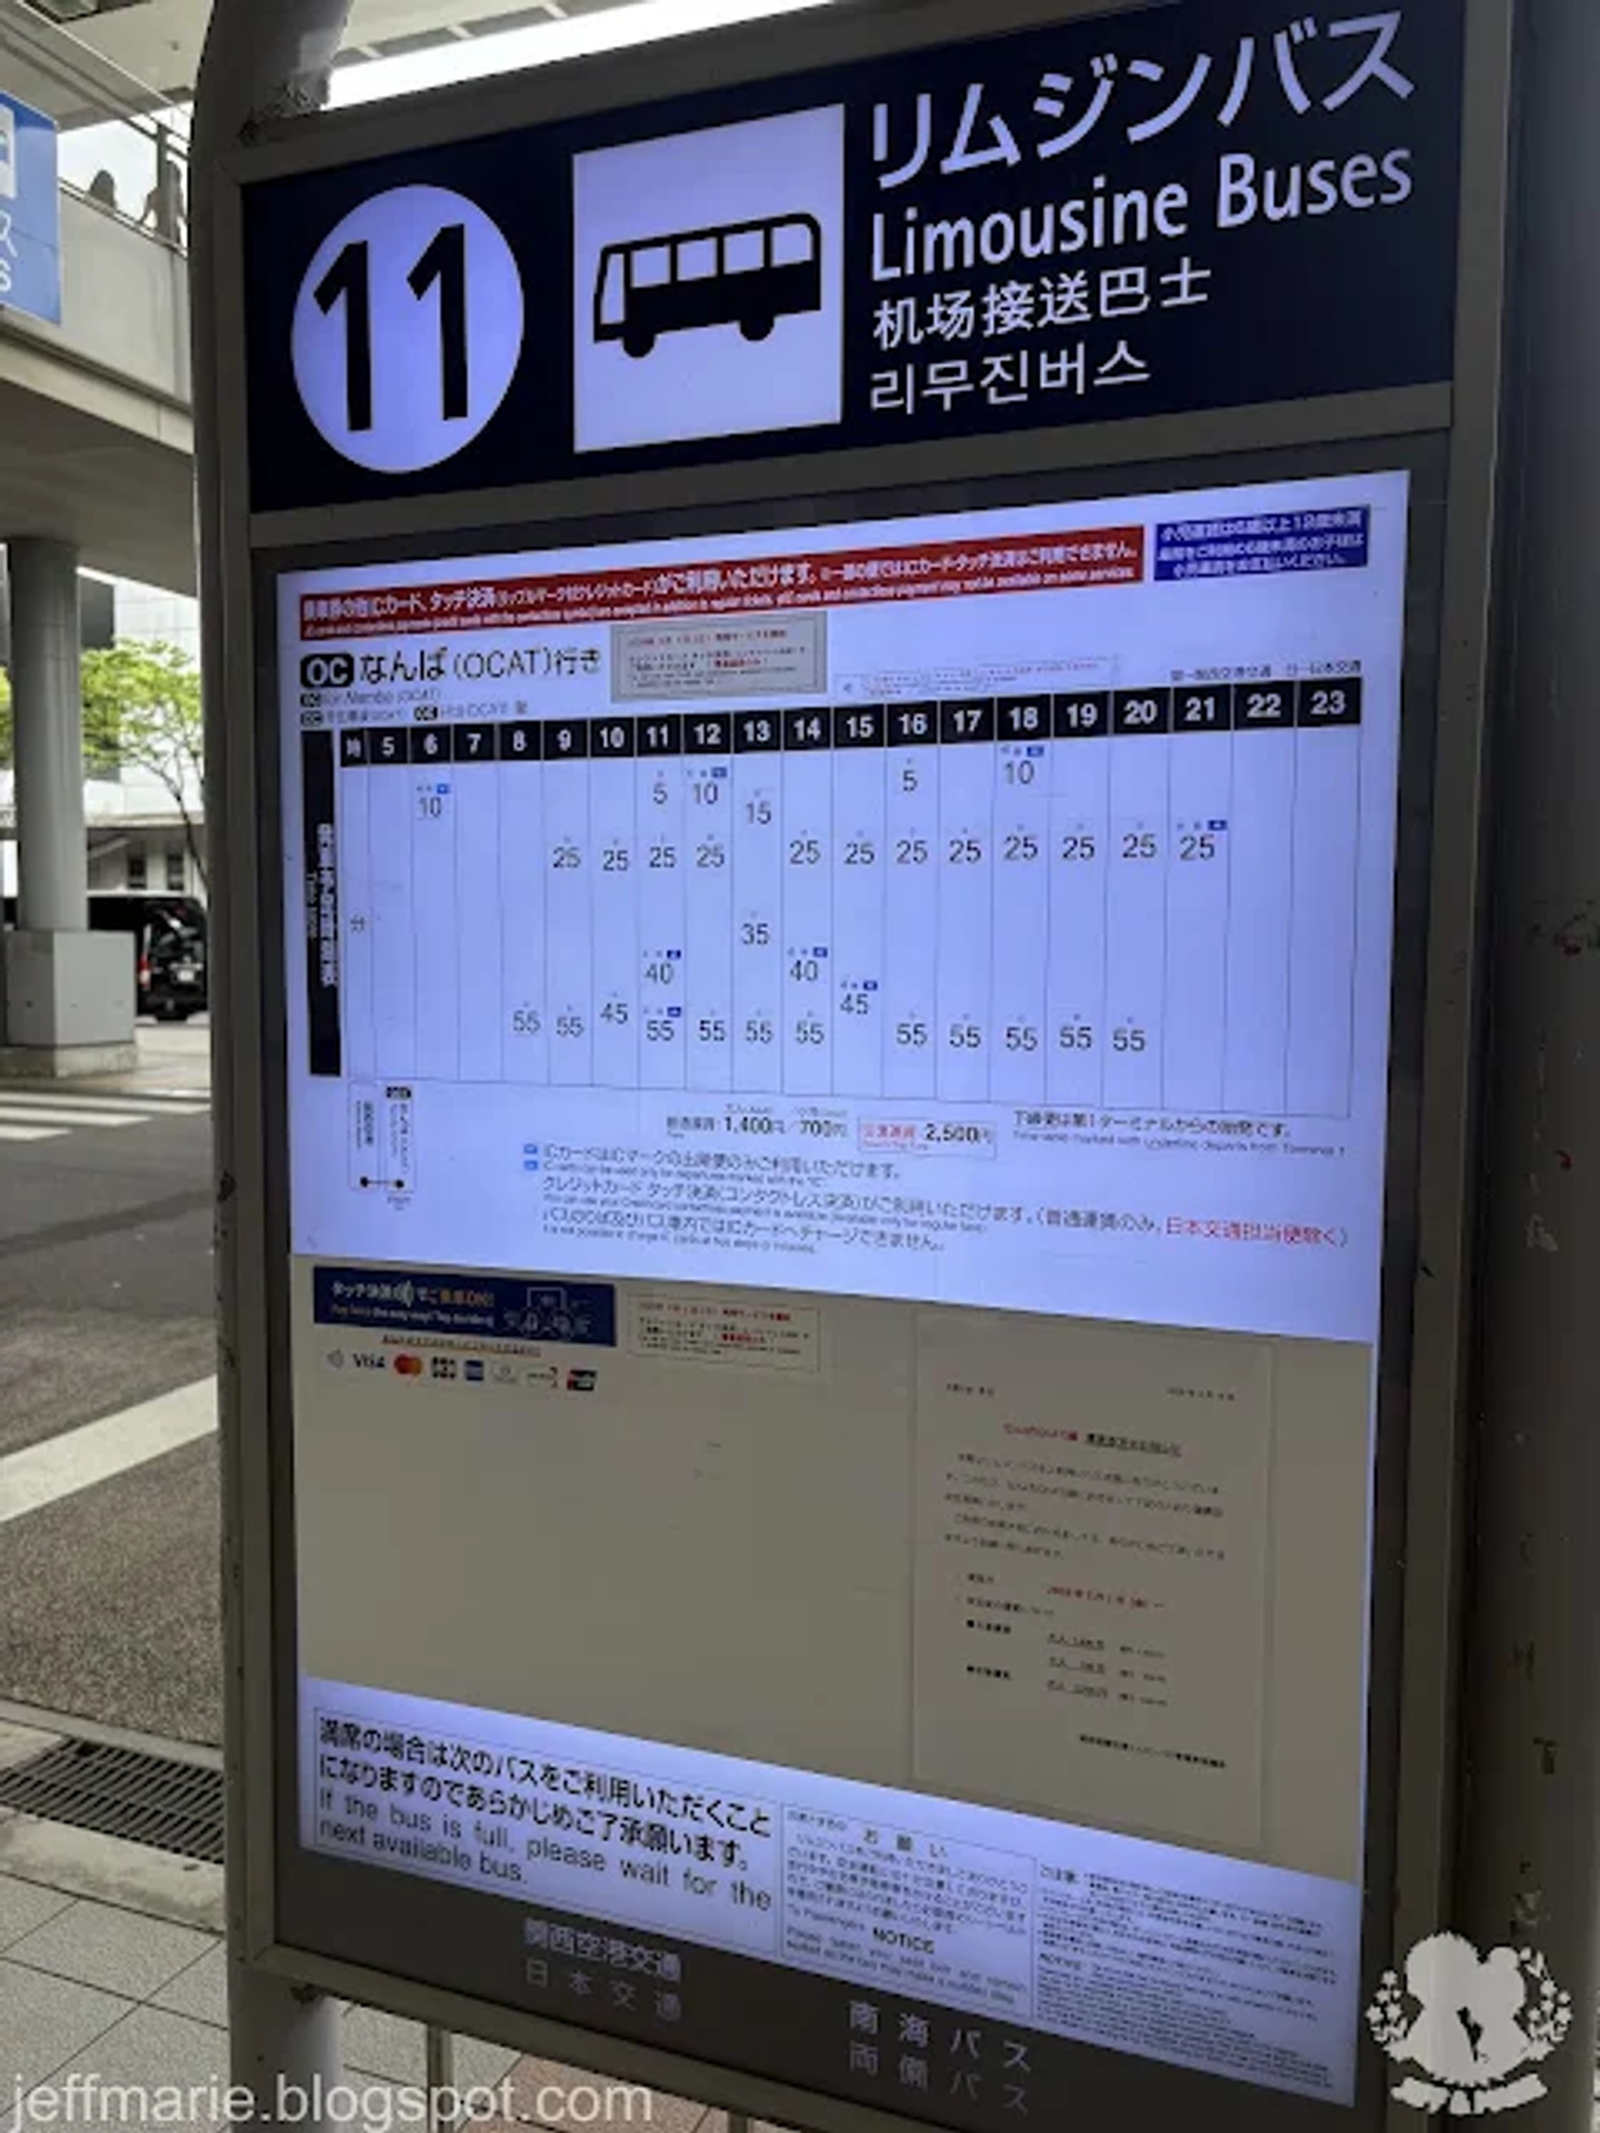
- Where to board: We purchased the Premium Have Fun in Kansai Pass (1-week free pass), so we had to redeem our voucher at a ticket machine first. Then, board from the 1F bus stop outside the airport (Stop 1 or 11) for buses bound for Shinsaibashi/Namba.
- Drop-off point: Get off at Namba (OCAT).
- Travel time: About 60-70 minutes. If purchased separately, it costs around 1,600 yen.
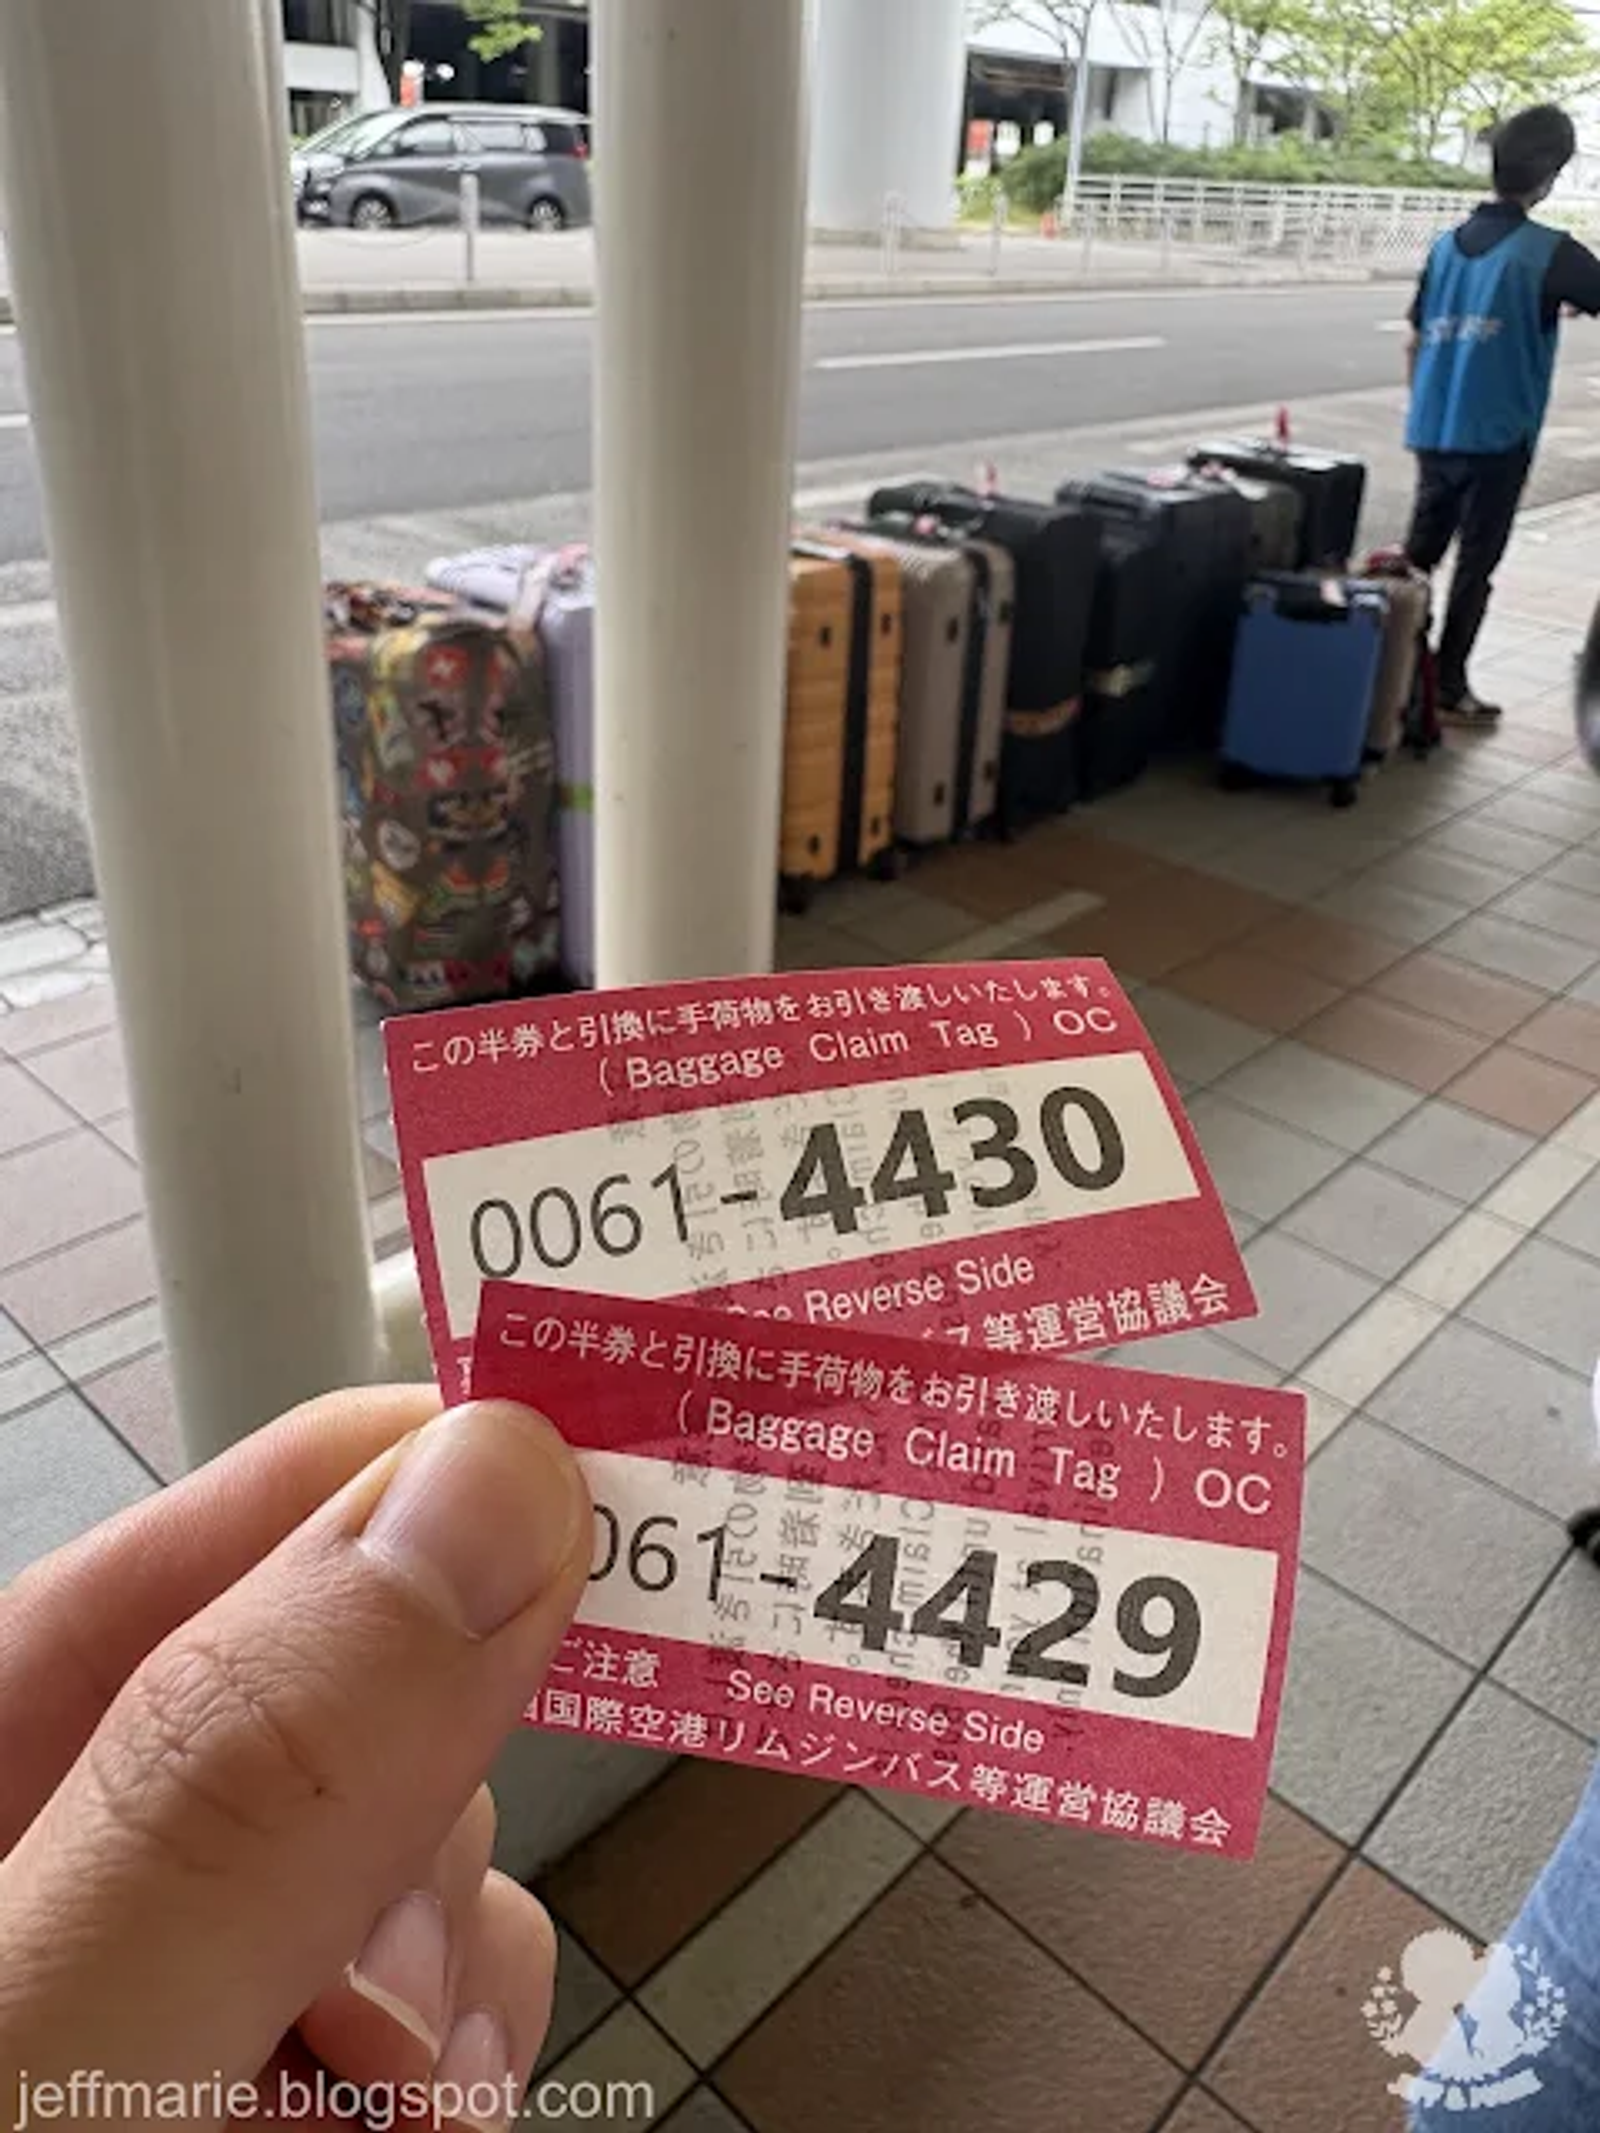
- Maximum comfort: Staff are on hand to help load your luggage into the bus.
- Keep your luggage claim tag safe—you'll need it to pick up your bags when getting off.
If you ask us what the best option is, we recommend checking where you're staying on night one so you can drop off your bags first. If you plan to head straight to a specific attraction right away, that's a different story!
Quick Transit Comparison
| Transit Mode | Direct Core Areas | Est. Travel Time (to City) | Best For | Notes |
|---|---|---|---|---|
| Airport Limousine Bus | Shinsaibashi, Namba, Umeda, USJ, etc. | 50 - 70 mins | Travelers with lots of luggage, seniors or kids, or hotels near bus stops | |
| Around ¥1,600 | ||||
| Nankai Electric Railway | Namba | 34 - 45 mins | Staying around Namba, Shinsaibashi, or Nipponbashi | Fastest option |
| JR HARUKA | Tennoji, Shin-Osaka, Kyoto | 35 - 80 mins | Travelers heading straight to Tennoji, Shin-Osaka, or Kyoto | |
| Comfortable reserved seats; great value with special foreigner discount tickets | ||||
| JR Kansai Airport Rapid Service | Tennoji, Osaka (Umeda) | 50 - 70 mins | Staying around Umeda | Commuter train, unreserved seating only |
3. What to Wear During Japan's Rainy Season in June? Jeff & Marie's Practical Packing Checklist
Visiting Kansai in June coincides with the local rainy season (tsuyu). While it doesn't storm every day, the weather changes fast—muggy one moment, cool the next. Here is our tested-and-proven personal packing checklist:
Essential Documents & Tech Gear
- Important documents & money: Passport, credit cards, NT$, and a moderate amount of Japanese yen cash.
- Visit Japan Web: Be sure to complete Visit Japan Web online before departure. Screenshot both the Immigration and Customs Declaration QR codes to your phone's photo album. Once you land, scan them at the kiosks to breeze through the fast lane!
- Tech & electronics: Camera, universal travel adapter, and a high-capacity power bank (navigating USJ, checking wait times, and taking photos/videos drains battery fast—an absolute must).
Rainy Season & Weather Transition Outfits
- Rain gear & footwear: A lightweight compact umbrella is standard for traveling in Japan in June. Personally, I like packing a raincoat paired with a hat—wearing the hat in light rain and putting on the raincoat for heavy downpours. For shoes, bring an extra pair of rain boots or waterproof footwear to alternate with sneakers, so afternoon showers don't soak your feet and ruin your mood.
- Clothing: Focus on short sleeves and light long sleeves, paired with a lightweight windbreaker or water-resistant jacket. It's super handy when walking in and out of air-conditioned rooms or dealing with big temperature swings between day and night.
Daily Essentials & Health
- Routine medicine: Stomach medication, pain relievers, plus vitamin B complex and vitamin C tablets to keep your energy up.
- Eco & personal hygiene: Reusable water bottle, wet wipes, and pocket tissues.
4. Kansai Independent Travel FAQ
Q1: Is filling out Visit Japan Web mandatory for entering Japan?
A: We strongly recommend registering for Visit Japan Web! It consolidates immigration clearance and customs declarations on your phone. Once you land, simply scan the QR codes to use the express lanes and drastically cut down your wait time.
Q2: What is the safest transit plan to get from Kyoto back to Kansai Airport on the last day?
A: On Day 7 after checkout, we took a taxi to Kyoto Station around 09:20 without hitting traffic. Then we caught the 10:00 JR HARUKA Limited Express (budget more time if you want to browse Kyoto Station). We reached Kansai Airport at 11:20, leaving plenty of time for our 14:00 flight.
Q3: For a 7-day, 6-night trip to Kansai, how much Japanese yen cash should we bring?
A: Nowadays, most department stores, restaurants, and convenience stores in Japan accept credit cards and mobile payments (like Japan's PayPay and Apple Pay). We recommend around 30,000 to 50,000 yen in cash per person. That's mainly for shrine offerings, omamori (charms), and spending at traditional markets (like Nishiki Market) or local street food stalls.
Q4: Is the tax-refund process complicated? What should I watch out for?
A: Japan's tax-free shopping is very straightforward. At any shop displaying the "Tax Free" logo, you can qualify with a single purchase of at least 5,000 yen (pre-tax) on the same day. Remember to carry your physical passport; present it at checkout to have the consumption tax deducted on the spot. Also, consumables (like cosmetics and snacks) will be sealed in tax-free bags—do not open them before leaving Japan!
5. Conclusion
After going through our 7-day, 6-night master itinerary and prep guide, are you ready to pack your bags? We did tons of research beforehand—after all, it was Marie's very first time visiting Osaka, and there were so many food spots and sights recommended online that she couldn't wait to try! We hit some absolute gems and a few duds, so keep reading to find out more!